Showing posts with label diy. Show all posts

Wednesday, August 8, 2012

Finally!!! A Finished Teen Room

I finally got Mackenzie's room done!! Well pretty much anyway! :)
I built her a new bed and added more zebra to her bed skirt. I repainted and recovered a new lamp for her nightstand. And I replaced her ceiling fan with one that actually worked! What a difference in this 100+ degree weather we've had all summer!!


We repainted a brown dresser to match her room. And I ended up buying her the zebra laundry basket after a few failed attempts of making one that I liked.

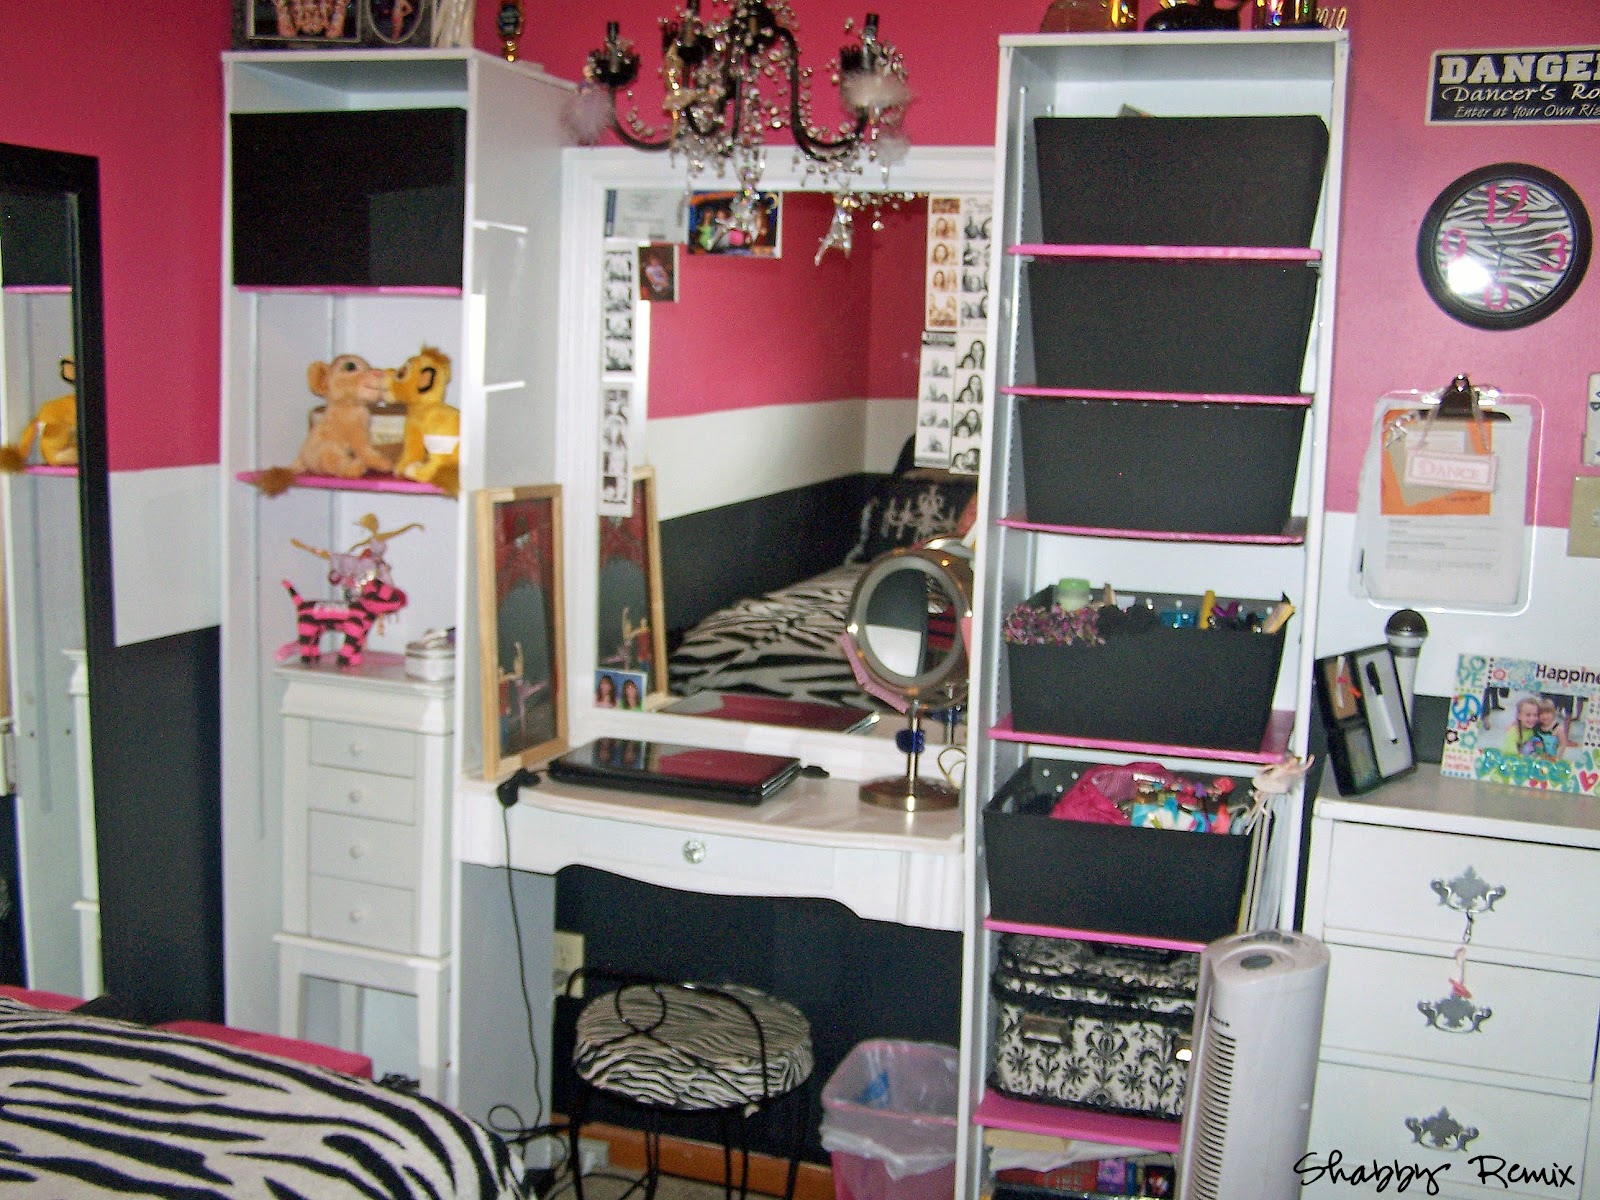
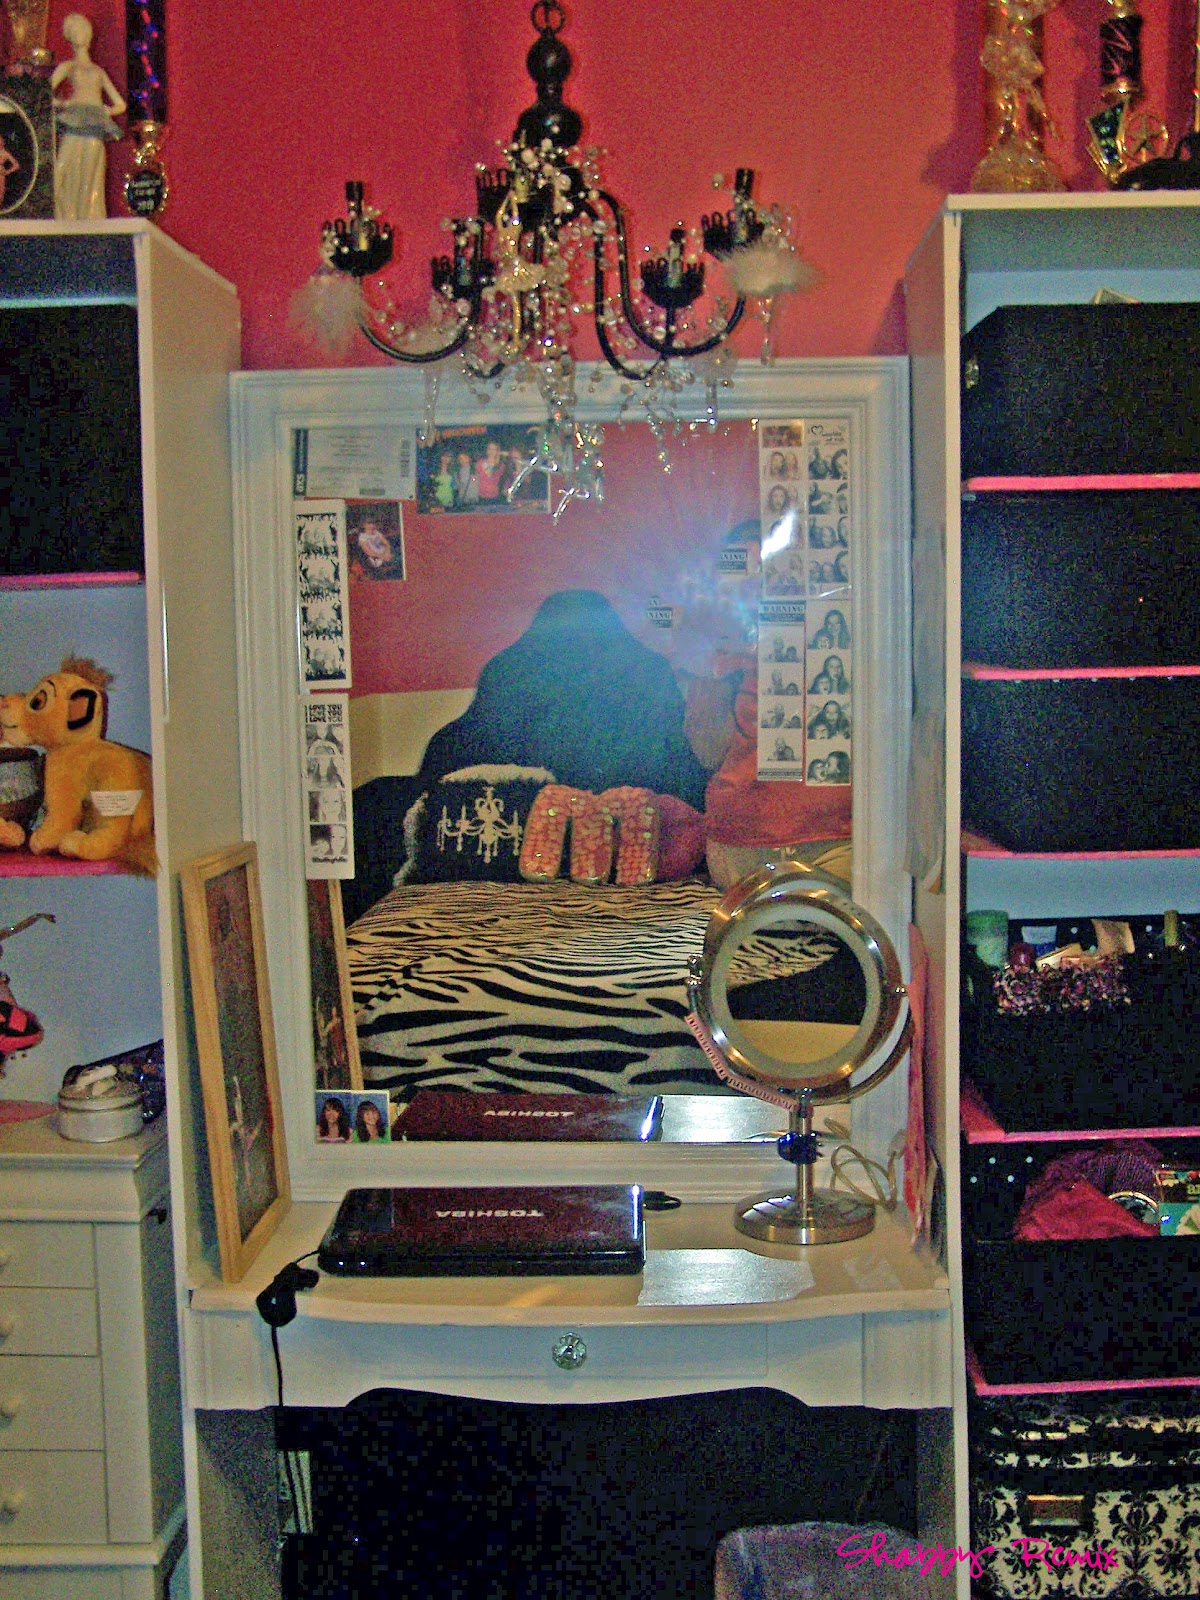
I made the wall unit for her room. She drew me a few pictures and had a few ideas of what she wanted and I built it to her specifications :) All of the shelves are adjustable so that we can change it if need be. The vanity in the middle is high enough to double as a desk for school work as well as doing her hair and makeup.

I love the chandelier! I had painted that for her room years ago and its still up. Although I would have much rather wired it for use....she likes it this way.

She designed the entire room herself. I just helped with the execution. I will go into further details soon. There are just a few more thing to get done and it "should be" all done!!!

Amanda :)

Monday, August 6, 2012

DIY Dog Feeders

When my  my Great Dane Abby was younger I made her a table for her food bowls. I had talked with another Great Dane owner at the dog park and she suggested it to me since its hard on larger dogs to bend down to the floor. About a year later we got another dog, Shay (a lab), so I made her the same table. Well that's been a few years and those tables, while still serving their purposes, have seen WAY better days! I decided it was past time to make new feeding stations for them.
 I still needed holes in the top of the feeder for the dog bowls. But this time instead of paint I opted for vinyl that I cut and wrapped around the top of the unit. This way it is easy to clean and that disgusting paint won't chip away!
 I added a shelf under the bowls so that in case water drips down it won't get to any of the contents of the feeder.
I added doors to the front of the cabinet to hide everything and make it look a little nicer :)
 I wanted the feeder to serve multiple purposes though. I really wanted to put their food under the bowls, but they are large dogs. Large dogs eat. A lot! And I have gone thru about 6 different food containers and like the one that I have so that wasn't going to work.


I settled on having a cupboard under the bowls so that I could store all of the leashes, collars, brushes, medicines, etc. Man, I think they might have as much stuff as a kid! Oh wait.....they kind of act like kids sometimes as well so I guess that kind of fits!!

I am SO much happier with the way this feeder looks compared to the other ones!!

Amanda :)

Tuesday, July 24, 2012

American Girl Doll Bed

I made this bed for my neice for Christmas and I finally got pictures of it! (I was finishing it up until I wrapped it up!) She wanted a doll bed for her doll that looked exactly like her bed. We were able to find a doll bed online, but with the $100+ price tag-not a chance! So I was able to modify these plans from Ana White (http://ana-white.com/2011/03/plans/doll-bed-and-trundle)
 
 
Yes, I'm sure my sister will be super happy that I'm showing my neice's messy room! Sorry :)!

-Amanda

to build her bed with mostly scraps I had laying around. So much fun!!

Friday, June 29, 2012

Burlap Footstool

My grandma knows my love to make things beautiful and she also knows that I will take anything given to me for free! And she should know this-she is where I learned everything from! From her, I have learned to garage sale and bid at auctions with the best of them. And of course from my Mom, I have learned to craft and make anything prettier. This is just a small project with supplies received from them both-kind of like a tribute to them! :)
Free.......but UGLY!!


I recovered the ugliness with a coffee sack. I didn't even have to touch the legs. Just take off the old material, staple the new fabric on and its done!!


We use this stool for everything-mostly Mackenzie uses it to sit on it and watch tv.

Thursday, March 8, 2012

Wire laundry basket

I needed a new laundry basket so I decided to make one on rollers. I had some leftover fence in the backyard so I cut that down to the size of a large pan that I had in the garage. I made a quick liner out of muslin, added twine as a drawstring, and added wheels. Now it's time to do laundry!!!

Wednesday, December 21, 2011

DVD Shutter Storage

I have a lot of movies that seem to be ending up all over the place lately and it was driving me crazy! So I put together this storage unit to contain them. I had these great shutters just sitting around, so I added some shelves and it was a done deal. The best part is that the shutters are already aged beautifully!


Have a great day!!

xoxo
Amanda

Tuesday, May 24, 2011

Barn Door Clock

I got this amazing barn door from my Great Grandparents farm years ago. It sat in my garage forever because I wasn't sure what I was going to do with it exactly.

I wanted a wall clock, the big round ones like in the PB catalog....but this is what I ended up with!


Don't you just LOVE the colors of the barn door!!I ordered the wall clock kit online and drilled some holes to set it on the door. Then I painted on the numbers with some black craft paint.

I used some really strong picture hangers and wall anchors. This thing weighs a ton!!

Wednesday, April 20, 2011

5 minute Spring Wreath


I decided that I needed to celebrate spring and get something on my door to welcome Spring finally getting here!!
I found this grapevine wreath and a garland of flowers in my garage. So I found some floral wire and tied the garland onto the wreath and.....


tada!! Done :)

Wednesday, April 13, 2011

Ruffle Lampshade

I found this lamp at Goodwill that was an ugly wood and brass combo. I spraypainted the lamp black. I loved the shape of the lampshade it came with but it was an ugly old tan color so I needed a new lampshad. This is what I cam up with.


I cut out strips of a white sheet that I had used for another project and made them into ribbons. I then hot glued them onto the lampshad. I thought it needed a little something more so I made a few flowers and glued them on one side.  


I especially love the frayed edges of the ruffles!!

I am linking up to the following:


Sunday, April 10, 2011

New Headboard

I had this old cupboard in the garage that I took apart when I moved because it weighed a ton. I loved the vintage wood. I used the door of the cupboard to create my mirror/jewelry holder. I have had the sides in my garage for months now trying to decide what to do with them....

So I painted them white and screwed them to the wall to create a headboard for my room. Can you believe that I've never in my life had a headboard for my bed! Crazy!!

I started with setting one of the pieces on the floor to determine
where it should go on the wall - very scientific!


I used 3 2x4s that I had in the garage from a previous project and screwed those into the wall. This should be enough to support the weight of the headboard - right?!


I set one of the sides on the 2x4s and screwed the side into the wall.
I did the same thing for the other side of the cupboard.


 I had a scalloped edge trim piece that I stuck on top of the headboard. I'm not sure yet if I like it or not.....I feel like I need something bigger.


I might add a quote or saying or something to the boards...but it works for now.

Tuesday, February 22, 2011

Chandelier Pillow

Chandelier Pillow Tutorial

My daughter actually made most of this pillow, I did the sewing even though she probably could have done that herself too! It was so easy and she loves her pillow - that's all that really matters!


Here are the supplies I used:
  1. Pillow form
  2. Soft Black fabric
  3. Black Feathers
  4. Fabric Paint
  5. Stencil (I used my Circut to cut this out)


I cut out the fabric to the size of the pillow form.
 

Mackenzie used the Circut and cut out the template that she chose.


Since vynal is expensive (and I'm cheap) I went to the Dollar Store and bought some contact paper. It works the exact same! And the entire role was only $2....not too shabby!


I used Tulip's Soft fabric paint. It has held up really well, I would recommend it.


After the stencil was cut out we stuck it onto the fabric.


Mackenzie had to find all of the little pieces and match it all up.

  
Mackenzie filled in the stencil with the paint using a makeup sponge.
 

Let the paint dry.


Carefully peal the stencil off of the fabric.


Here's the finished paint job
  

After sewing the pillow together with the fabric, this is the final pillow!

Happy Sewing!!

 Amanda